
Baking sourdough bread is a rewarding, creative journey that brings together science, patience, and art. If you’re new to the world of sourdough, the process might seem a bit intimidating at first, but don’t worry! With the right guidance and a little practice, you’ll soon be enjoying delicious, homemade sourdough loaves.
Step 1: Creating Your Sourdough Starter
The first step in making sourdough is creating your starter, which is a mixture of flour and water that harnesses wild yeast and beneficial bacteria. These microorganisms are what give sourdough its unique tangy flavor and chewy texture.
To begin, mix equal parts of flour and water in a jar. A typical ratio is 100 grams of each. Stir until combined, then cover loosely with a lid or cloth and leave it at room temperature for 24 hours. After this time, you should start to see bubbles forming as the wild yeast begins to activate.
For the next few days, you’ll need to “feed” your starter. Discard half of the mixture and add the same amount of fresh flour and water. Continue this process for about 5–7 days until your starter is bubbly, has a pleasant sour smell, and doubles in size within 4–6 hours of feeding. At this point, your starter is ready to bake with!
Step 2: Mixing the Dough
Once your starter is active, it’s time to mix your dough. For a basic sourdough recipe, combine 500 grams of flour (a mix of bread flour and whole wheat flour works well) with 350 grams of water. Add 100 grams of your starter and 10 grams of salt.
Use your hands or a dough hook to mix until everything is fully combined. The dough should be slightly sticky, but manageable. Let it rest for 30 minutes, then knead gently for 5-10 minutes, until it becomes smooth and elastic.
Step 3: Bulk Fermentation
This is where the magic happens. The dough needs to ferment slowly to develop its unique flavor and texture. Place the dough in a lightly oiled bowl, cover it with a damp towel, and let it rise at room temperature for 4-6 hours. During this time, perform a few “stretch and folds” every 30 minutes to help strengthen the dough. After the bulk fermentation, your dough should have doubled in size and feel airy and full of bubbles.
Step 4: Shaping the Dough
Once the dough has fully fermented, it’s time to shape it into a loaf. Gently turn it out onto a floured surface and use your hands to shape it into a round or oval shape. Avoid punching down the dough too much, as you want to keep all those beautiful air pockets!
Let the shaped dough rise for another 1-2 hours. This second rise, also known as proofing, allows the dough to expand further and become even fluffier.
Step 5: Baking the Bread
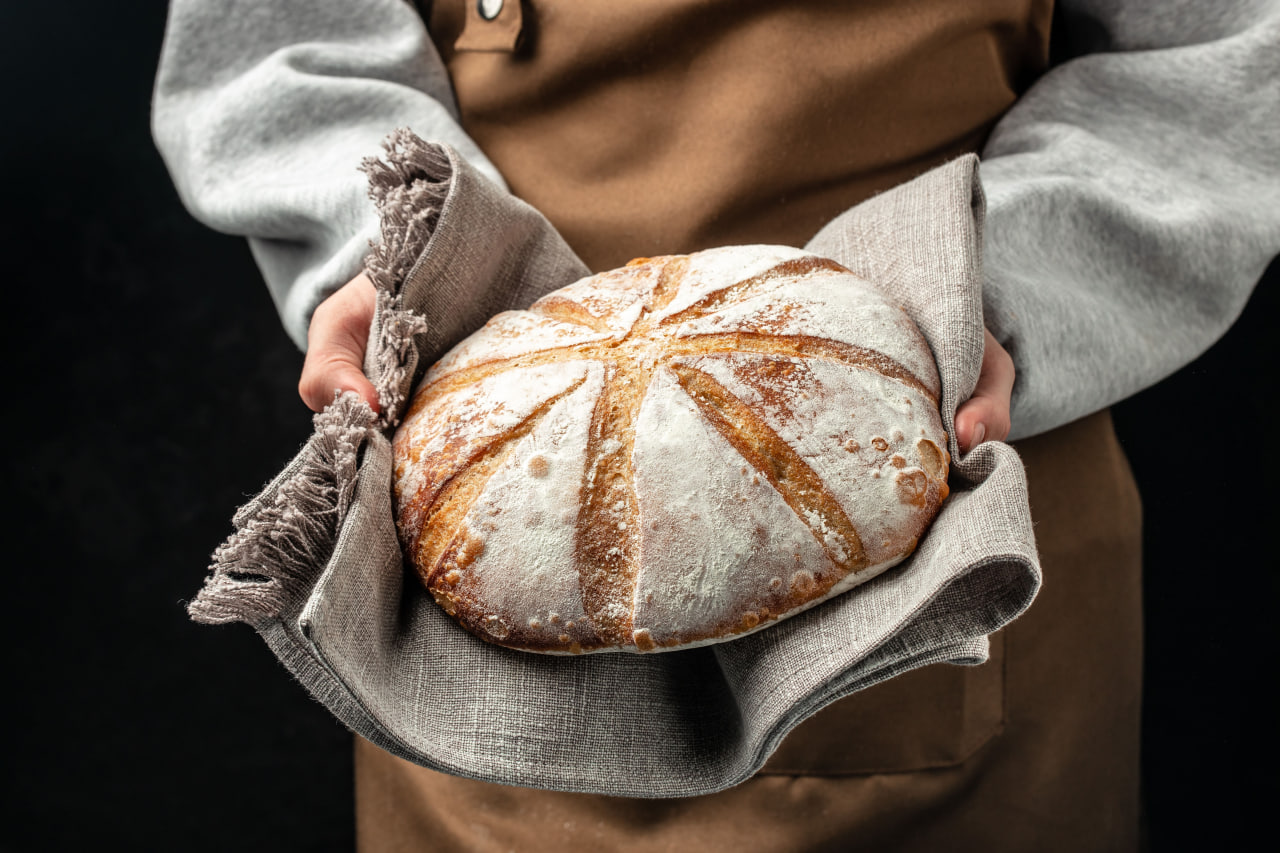
Preheat your oven to 450°F (230°C). If you have a Dutch oven or a baking stone, place it in the oven while it’s preheating. Once the oven is hot, carefully transfer your dough onto the hot surface. Score the top of your loaf with a sharp knife or razor blade to allow it to expand while baking.
Cover the dough with a lid or another pot to create steam, which helps form that crispy, golden crust. Bake for 20 minutes, then remove the lid and bake for an additional 25-30 minutes, or until the bread has a deep, golden-brown crust.
Let the bread cool on a wire rack for at least an hour before slicing. This allows the interior to set and develop its full flavor.
Making sourdough bread is a journey of patience and practice. The longer you bake, the more you’ll fine-tune the process and develop your own techniques. But the best part is that each loaf you bake will be uniquely yours, with its own flavors and textures.
So grab your ingredients, start your starter, and get ready to experience the art of sourdough baking. Happy baking!